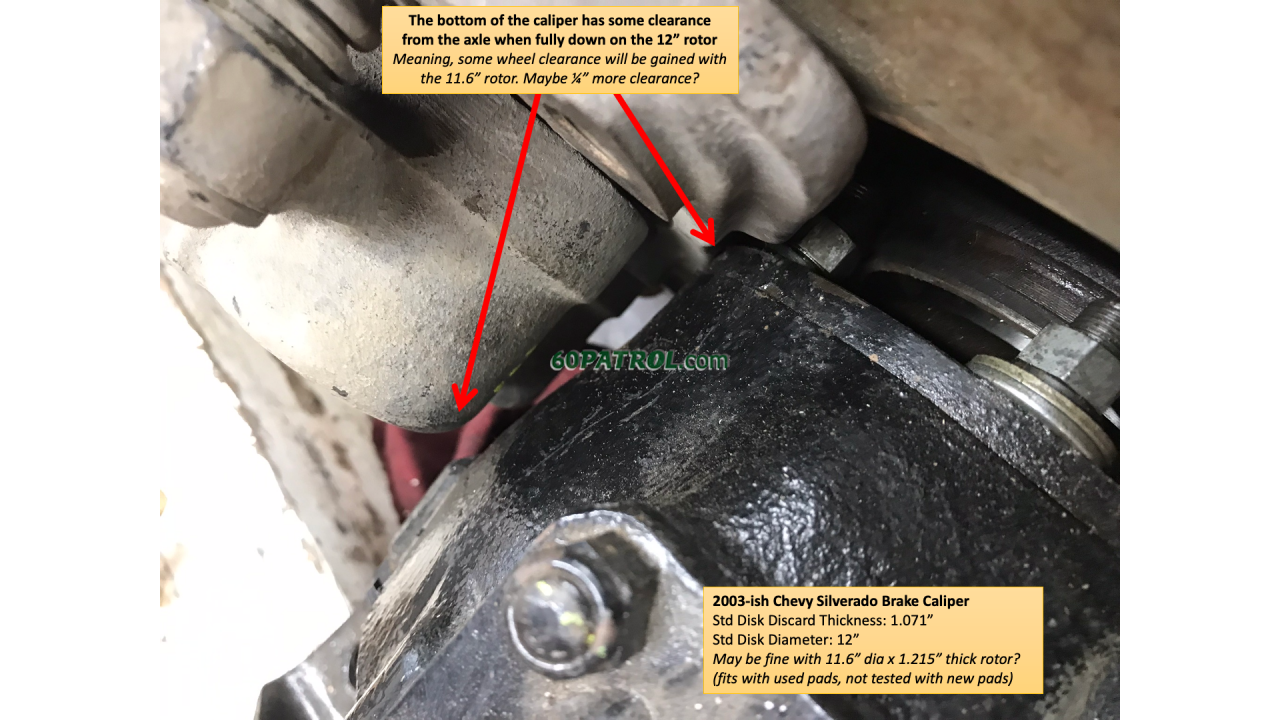
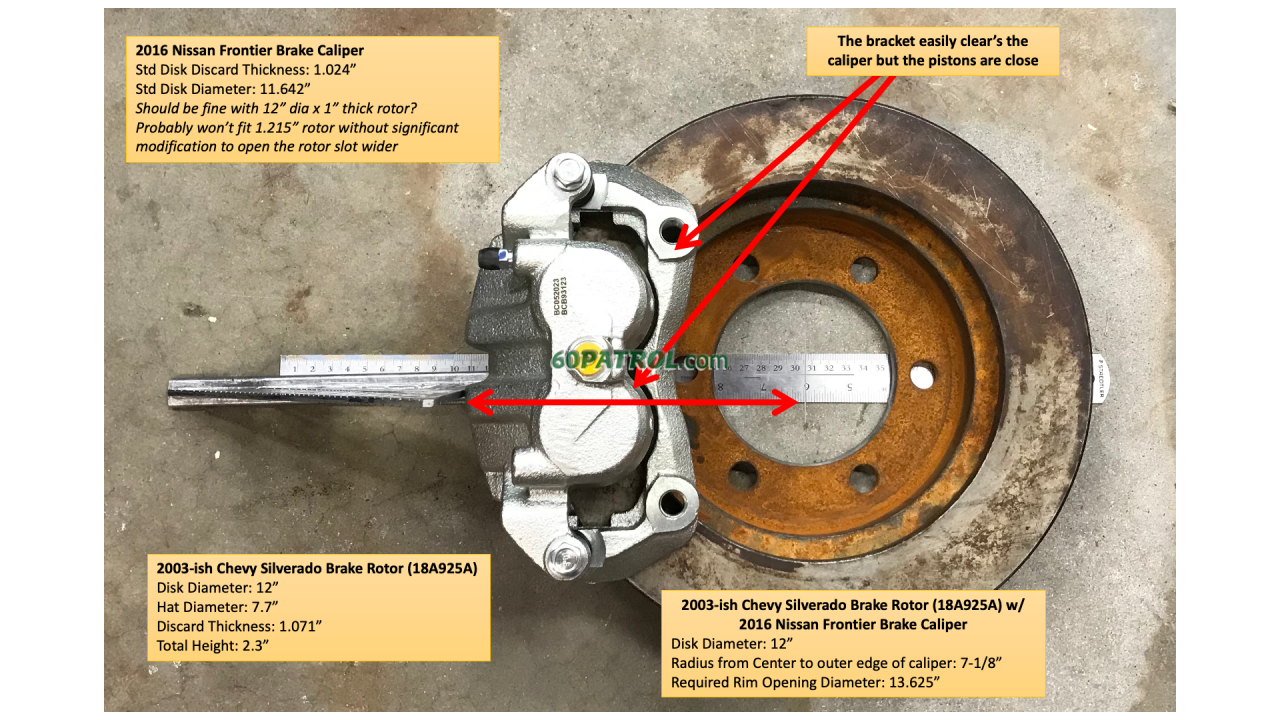
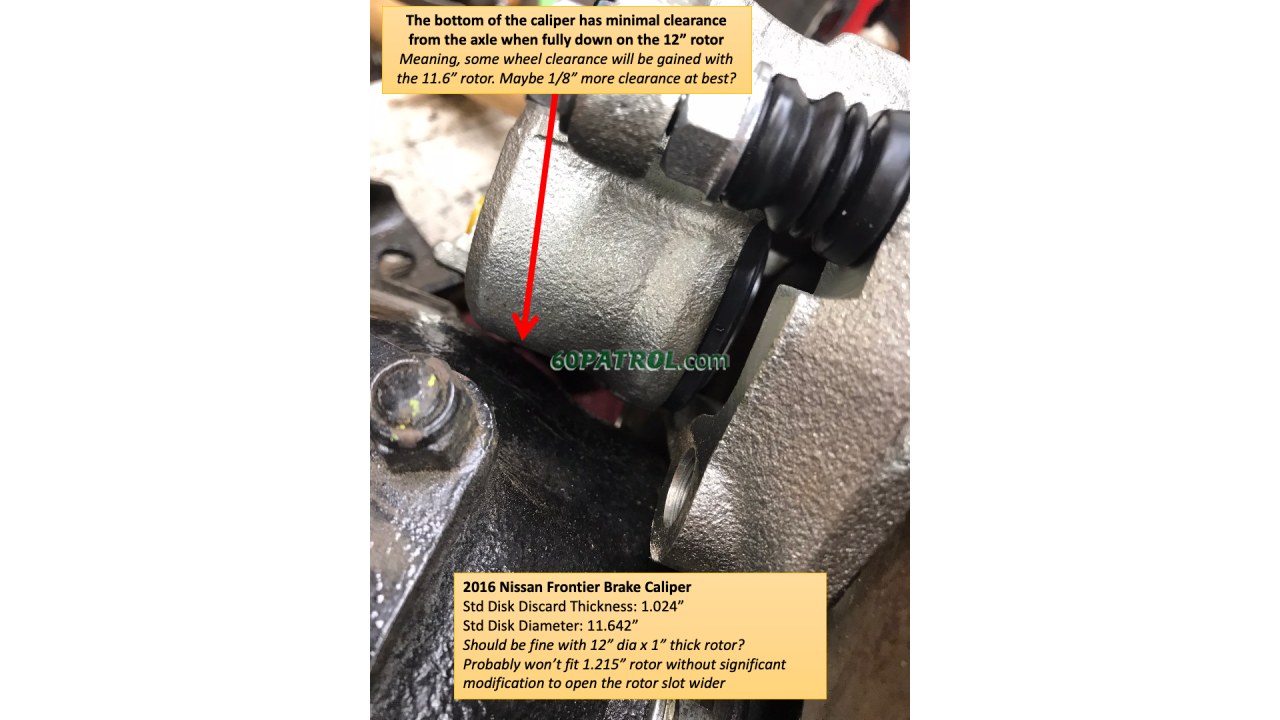
Re: 1967 Family Patrol Project
Posted: Sat Jan 29, 2022 2:30 am
Phase 1 -- Complete! My adventure du jour!
First, my new lathe kicks butt! Makes it so easy to turn material. Tons of power make pretty deep cuts possible and it's super rigid so even while making those deep cuts, I get a decent finish quality!
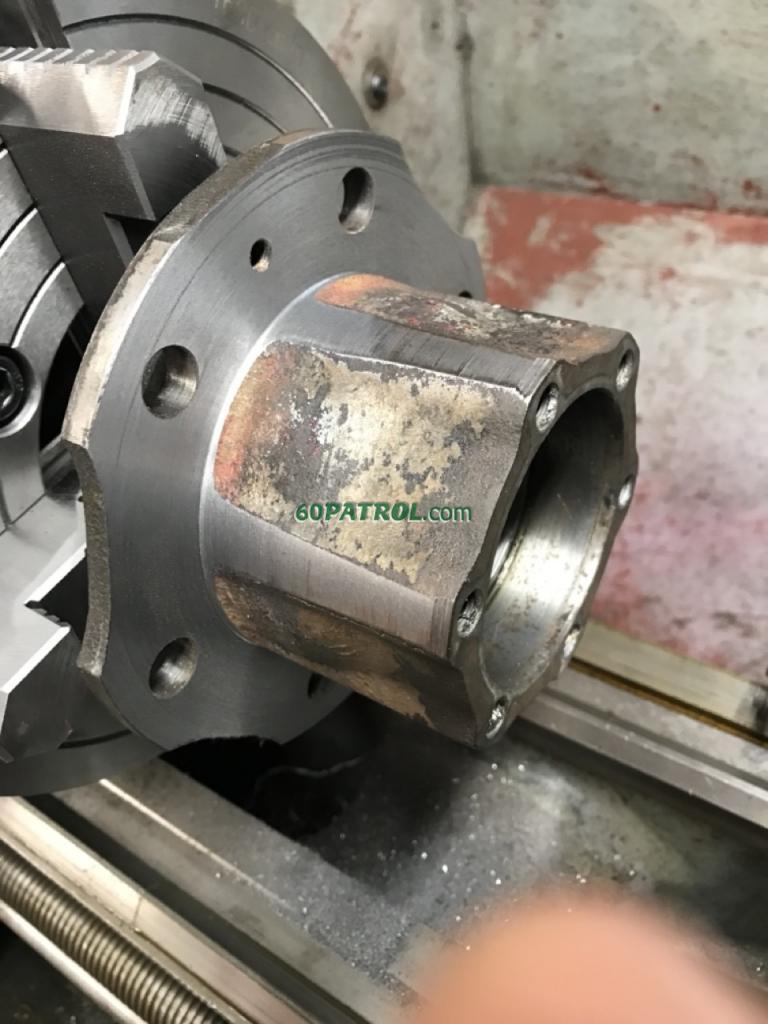
So, this is one of the hubs my buddy cleaned up for me. I had asked him to take as little as possible to give a good register for the rotor... turns out that the two hubs ended up being slightly different diameters. I want them to be the same so the rotors can be used on either side.
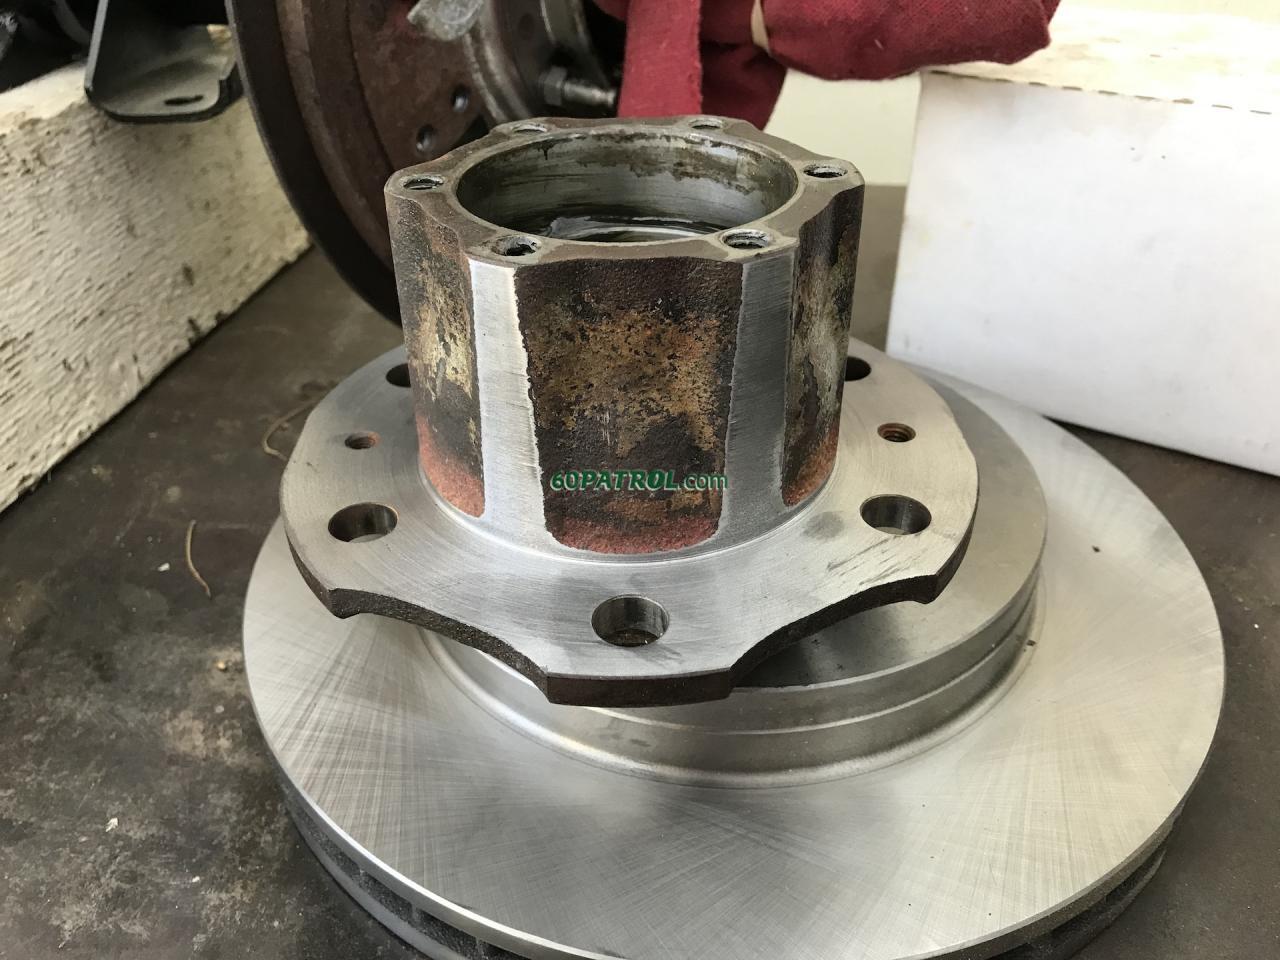
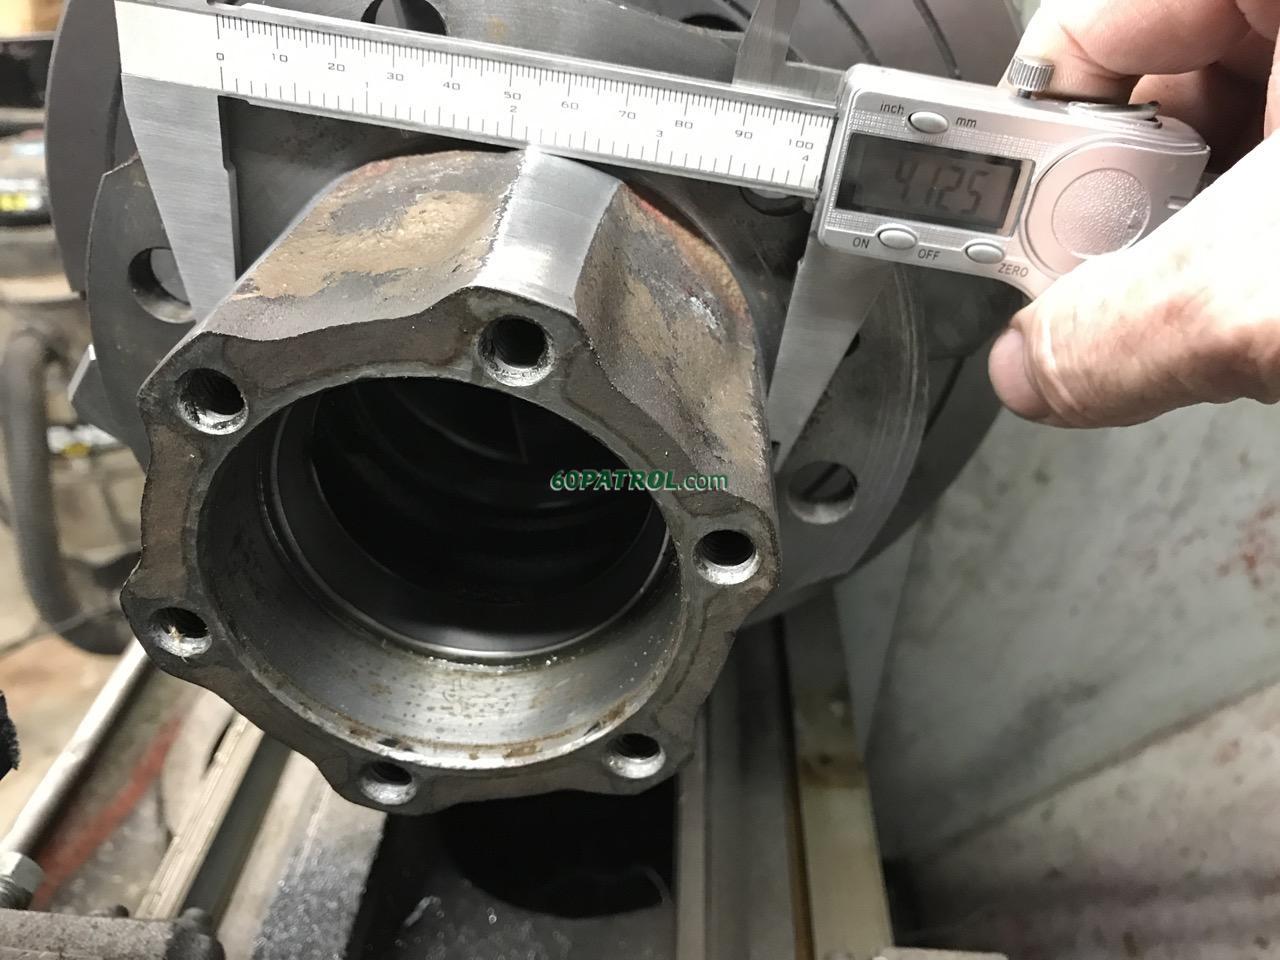
Nailed it! The plan is to turn the hubs to 4.125" and I got it. It's kinda odd working in such small values. A thousandth of an inch is barely visible and then only in perfect lighting! It's actually quite a challenge to get the hub set up on the lathe! I used the 4-jaw chuck, then went round and round with an indicator tightening and loosening until it was perfectly aligned, then round and round again to make sure the front of the hub is also perfectly aligned -- turn, measure, turn, measure turn, measure, tap, measure, tap, measure, tap, measure, Repeat, repeat, repeat until it's perfect!
ACTION SHOT! Next is to face the hub to clean it up -- I cut just 0.002"s to make it look extra pretty
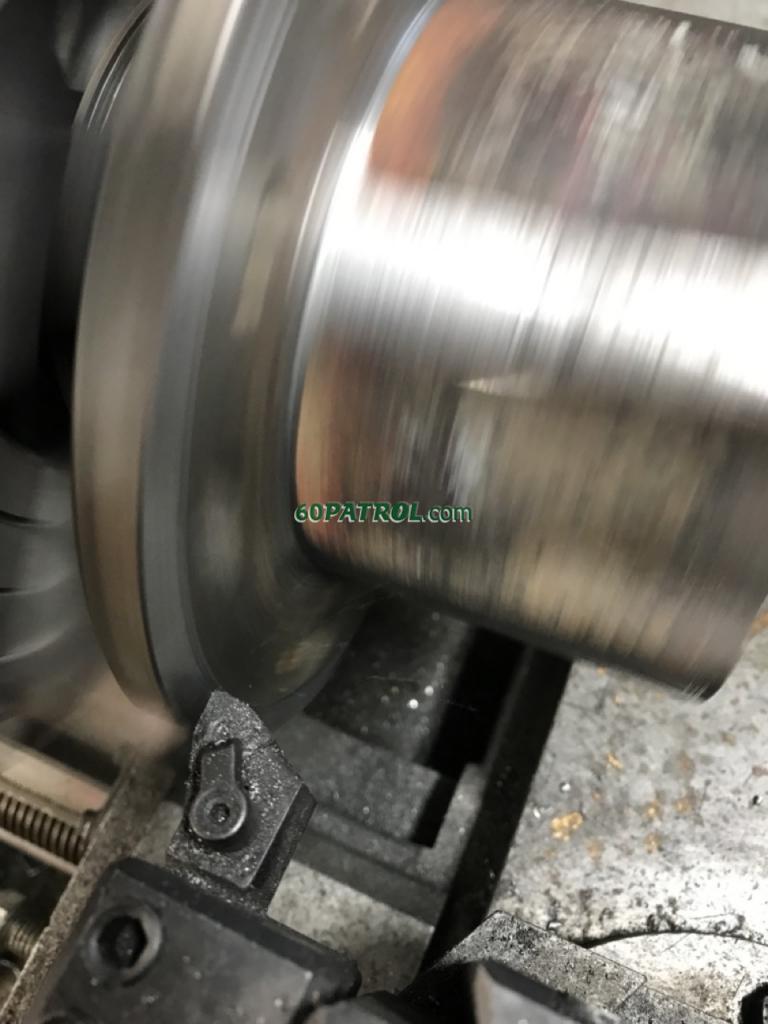
Considering how little I took off, this looks awesome and confirms that the face is perpendicular to the rotating axis
This is the brand new, stock, GM front rotor (yea, not Nissan)
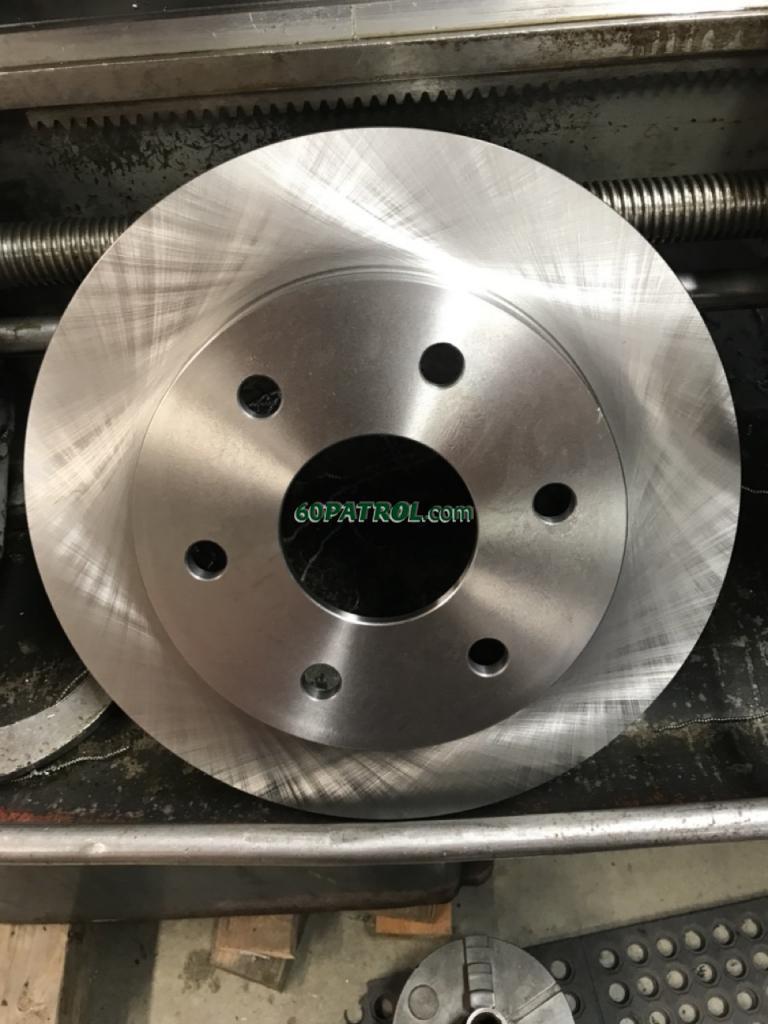
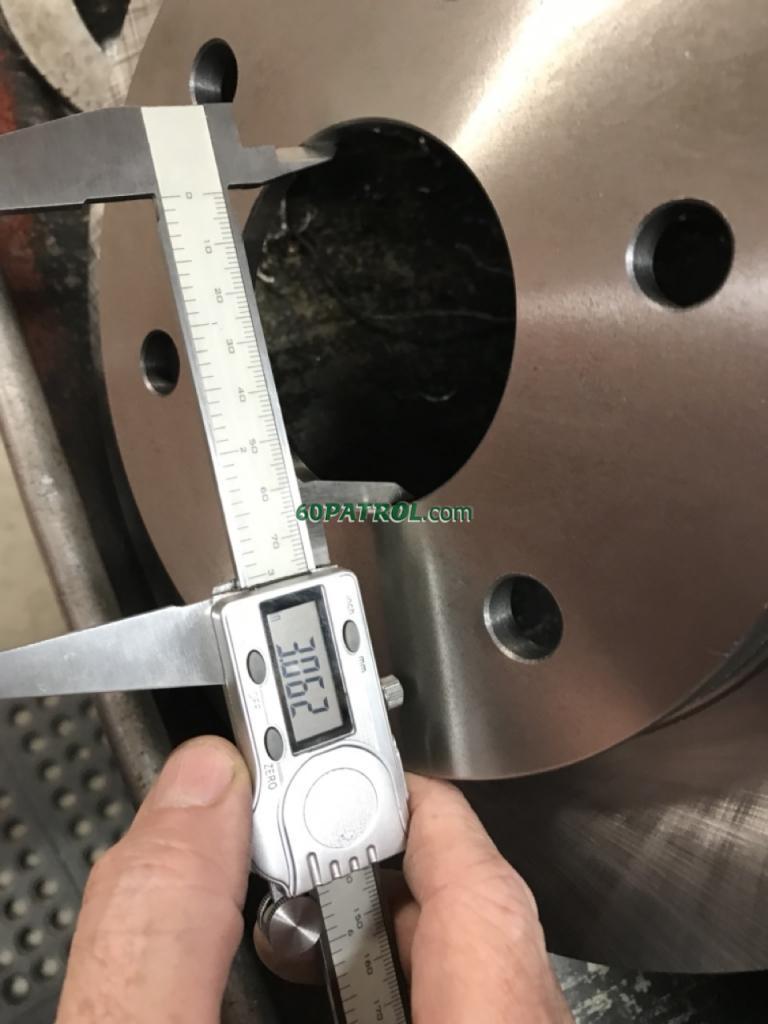
The stock hub register on that brake rotor is 3.062 -- I'd guess that the hub that is designed for it would be right at 3" in diameter. To fit the Patrol hubs I just machined, I want to open it up to 4.127" (+2 to 3 thousandths is my target).
Setting the rotor up on the lathe is easier than the hub for a variety of reasons... it's easier to grab and the bore is much, much shorter so front to back alignment is less critical (not to say it's not... it's just a little less). I have my Test Indicator in place on the stock register (which, by definition, is perfectly concentric with the axle). The zero is irrelevant, what matters in this set up is the difference between the min and max readings. This is the minimum reading
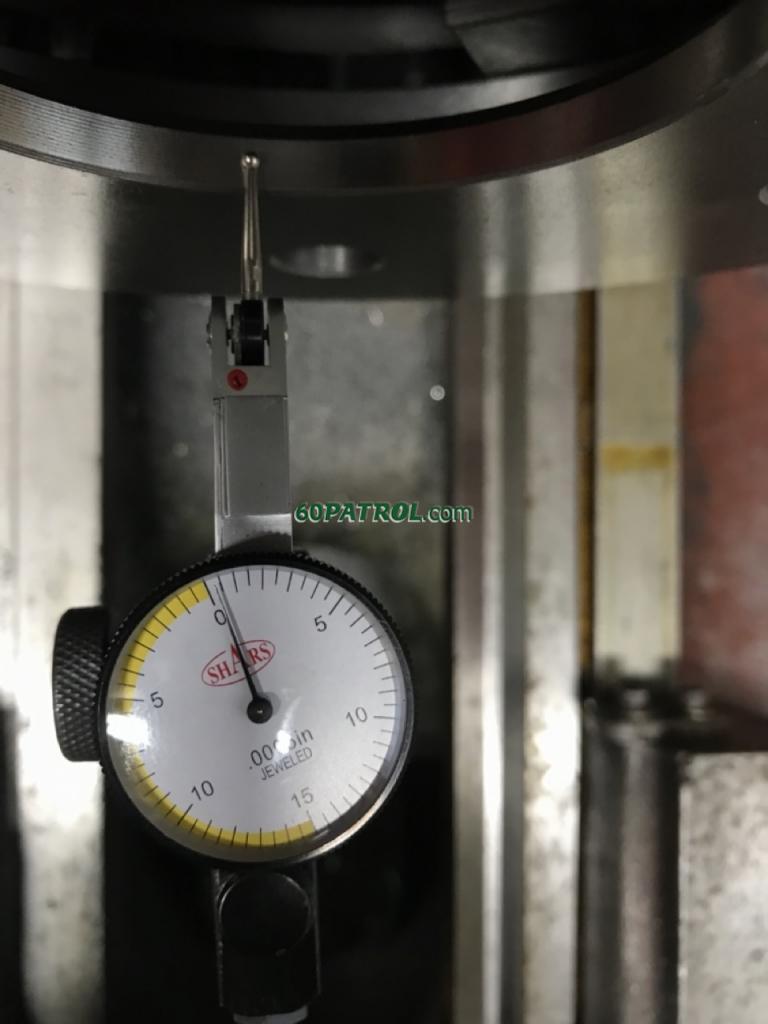
And this is the max reading! It took awhile but using that 4-jaw chuck, I was able to get it super close!

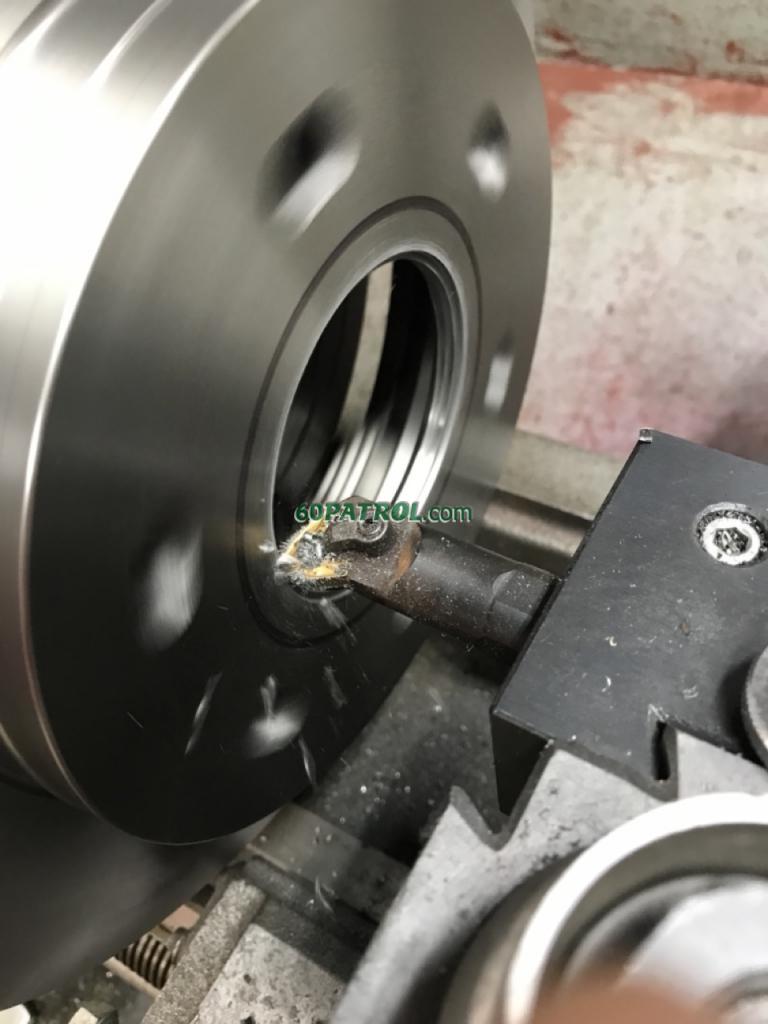
ACTION SHOT! Boring! The outside edge of the black marker circle is just a hair under 4" -- it's there to keep me from opening it up too much in all my excitement!
FINISHED! Hubs and rotors fitted together perfectly! They slide together nicely, but have no movement once all the way down. Next stop, the caliper brackets...

In case anyone wants to do the same conversion on the front brakes -- for reference:
Turn hubs to 4.125" to create a register to seat and center the brake rotors
Use the rotors from a 2003 Chevy Silverado Pickup (ACDelco Silver 18A925A Front Disc Brake Rotor) - Open center hole to 4.127"
Measuring with a caliper is a chore! I must have re-measured 100 times just to make sure I was getting the right measurement! My next purchase will be a 5" micrometer!
On another note, I love my 1969 vintage lathe and am looking for excuses to use it. If anyone needs help getting the hubs and rotors turned, ping me!
John
First, my new lathe kicks butt! Makes it so easy to turn material. Tons of power make pretty deep cuts possible and it's super rigid so even while making those deep cuts, I get a decent finish quality!
So, this is one of the hubs my buddy cleaned up for me. I had asked him to take as little as possible to give a good register for the rotor... turns out that the two hubs ended up being slightly different diameters. I want them to be the same so the rotors can be used on either side.
Nailed it! The plan is to turn the hubs to 4.125" and I got it. It's kinda odd working in such small values. A thousandth of an inch is barely visible and then only in perfect lighting! It's actually quite a challenge to get the hub set up on the lathe! I used the 4-jaw chuck, then went round and round with an indicator tightening and loosening until it was perfectly aligned, then round and round again to make sure the front of the hub is also perfectly aligned -- turn, measure, turn, measure turn, measure, tap, measure, tap, measure, tap, measure, Repeat, repeat, repeat until it's perfect!
ACTION SHOT! Next is to face the hub to clean it up -- I cut just 0.002"s to make it look extra pretty
Considering how little I took off, this looks awesome and confirms that the face is perpendicular to the rotating axis
This is the brand new, stock, GM front rotor (yea, not Nissan)
The stock hub register on that brake rotor is 3.062 -- I'd guess that the hub that is designed for it would be right at 3" in diameter. To fit the Patrol hubs I just machined, I want to open it up to 4.127" (+2 to 3 thousandths is my target).
Setting the rotor up on the lathe is easier than the hub for a variety of reasons... it's easier to grab and the bore is much, much shorter so front to back alignment is less critical (not to say it's not... it's just a little less). I have my Test Indicator in place on the stock register (which, by definition, is perfectly concentric with the axle). The zero is irrelevant, what matters in this set up is the difference between the min and max readings. This is the minimum reading
And this is the max reading! It took awhile but using that 4-jaw chuck, I was able to get it super close!
ACTION SHOT! Boring! The outside edge of the black marker circle is just a hair under 4" -- it's there to keep me from opening it up too much in all my excitement!
FINISHED! Hubs and rotors fitted together perfectly! They slide together nicely, but have no movement once all the way down. Next stop, the caliper brackets...
In case anyone wants to do the same conversion on the front brakes -- for reference:
Turn hubs to 4.125" to create a register to seat and center the brake rotors
Use the rotors from a 2003 Chevy Silverado Pickup (ACDelco Silver 18A925A Front Disc Brake Rotor) - Open center hole to 4.127"
Measuring with a caliper is a chore! I must have re-measured 100 times just to make sure I was getting the right measurement! My next purchase will be a 5" micrometer!
On another note, I love my 1969 vintage lathe and am looking for excuses to use it. If anyone needs help getting the hubs and rotors turned, ping me!
John